This Blog is part of a Series! Check out the rest if you haven’t already:
- Home Security & I’m Back: A story about how I built my own security system and wrote some software for it.
- Alarm System Part 1: The Old Security System: What came with the house when I bought it, and an overview of the chips on the board and a deep dive into how the EEPROM works.
- Alarm System Part 2: System Teardown: Tearing out the EEPROM and socketing it for testing.
- Alarm System Part 3: Dumping the EEPROM
- Alarm System Part 4: The Keypad: What’s making this thing work?
- Alarm System Part 5: How to Hack a Home Security System: Getting in!
You read that title. Not “What parts did I order and what struggles did I have” No. “How to hack”, which means we’re damned successful at it,
But not so fast.
Last I reported, the alarm on a board was in a broken state. Every time I’d turn it on, it would scream for service because the siren was missing. I’m not an EE so I still have no idea how it knows, perhaps monitoring resistance?
Either way, I hopped up on a ladder and tore down the old siren. My wife isn’t thrilled because there’s an open hole in the wall right now until I print/buy a cover plate, but whatever.
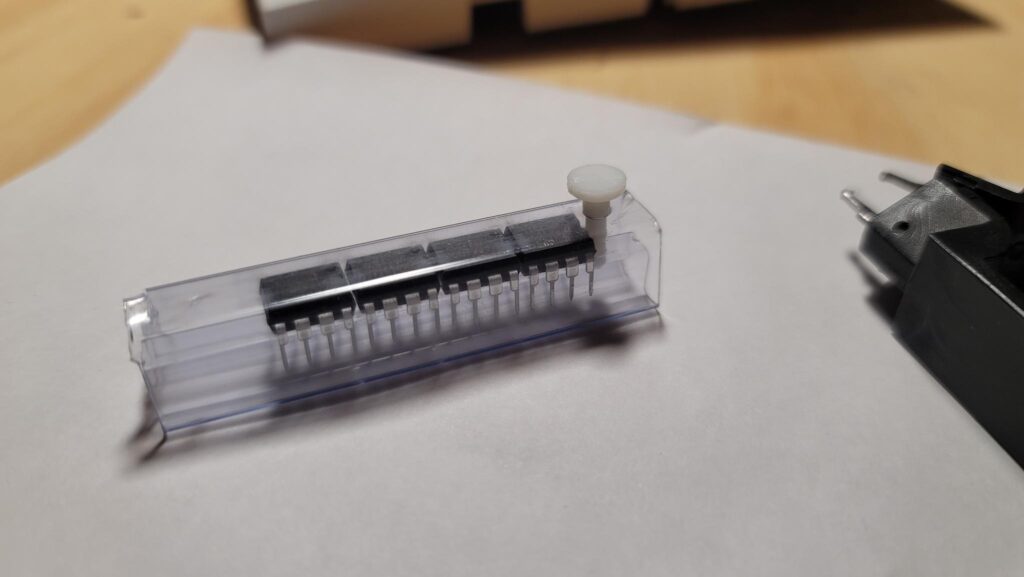
The EEPROMs showed up and I was ready to go!
I also neglected to take any pictures of the siren on the wall or of the resultant hole, but I did mount it to my alarm system on-a-board:
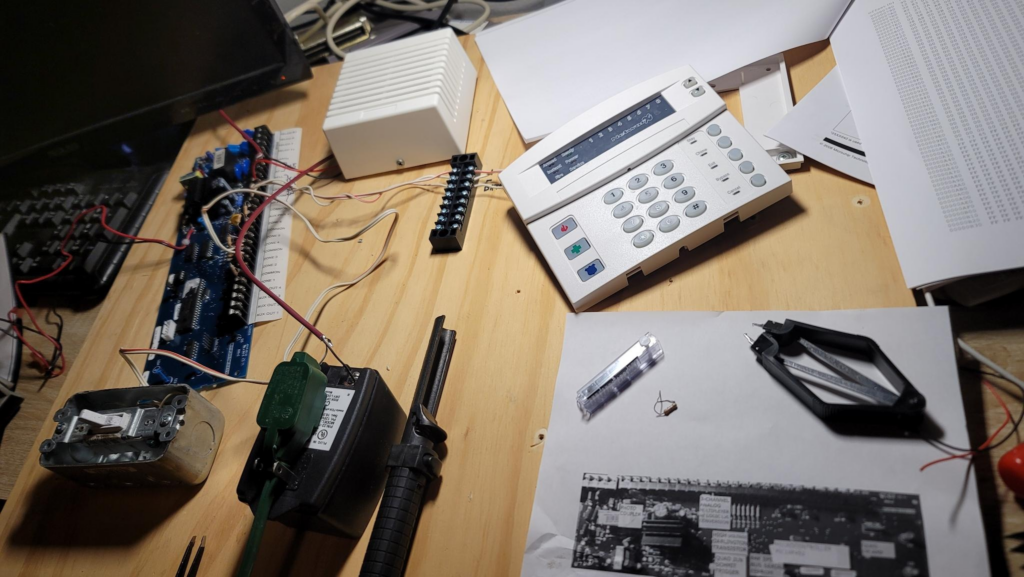
It’s a bit of a wreck, my system on a board, but I’ve had a hell of a ride doing this with minimal googling and mostly just Duck Duck Go and a ton of luck.
With the siren mounted, I decided to switch the system on.
No More Service Light!
I was pretty excited that the system didn’t show a service light anymore, it means the siren was the cause of the fail and not my tampering with the EEPROM, box tamper switch, or literally tearing out a home security system and slapping it on a piece of 1/2″ plywood.
But then it started, a constant beeping. It didn’t stop. I even planned for this contingency, because you can’t have an alarm panel being loud and have sleeping kids and a wife.
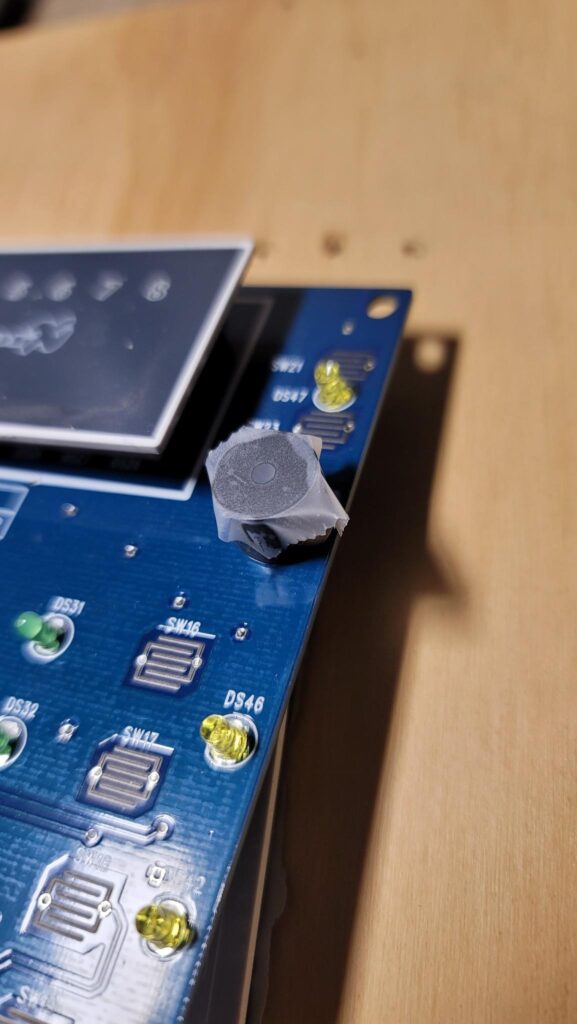
With military precision and maximum skill. Skill you learn over the course of decades of practice, I’ve applied a special adhesive acoustic dampening film across the piezoelectric film. DO NOT TRY THIS AT HOME.
After applying part number #0MGSTFU to the speaker, it was better but still pretty intolerable. I’ve googled a ton on just factory resetting this thing and got CLOSE.
Most people suggest you:
- Use the installer code 9713 to deactivate
- Or use installer code 971300 if it was a 6-digit code
This shit didn’t work. I argued with the system for a few hours. I eventually figured out that pressing *3 will show what zones last triggered a fault. It showed #2 (not sure why, it was fine) and Zone #5.
At first I figured it was wrong and I was right. I looked closer, however, and remembered the “end of line resistor” requirement. If there’s a dead open, that’s a problem for this panel. So, investigating a touch further:
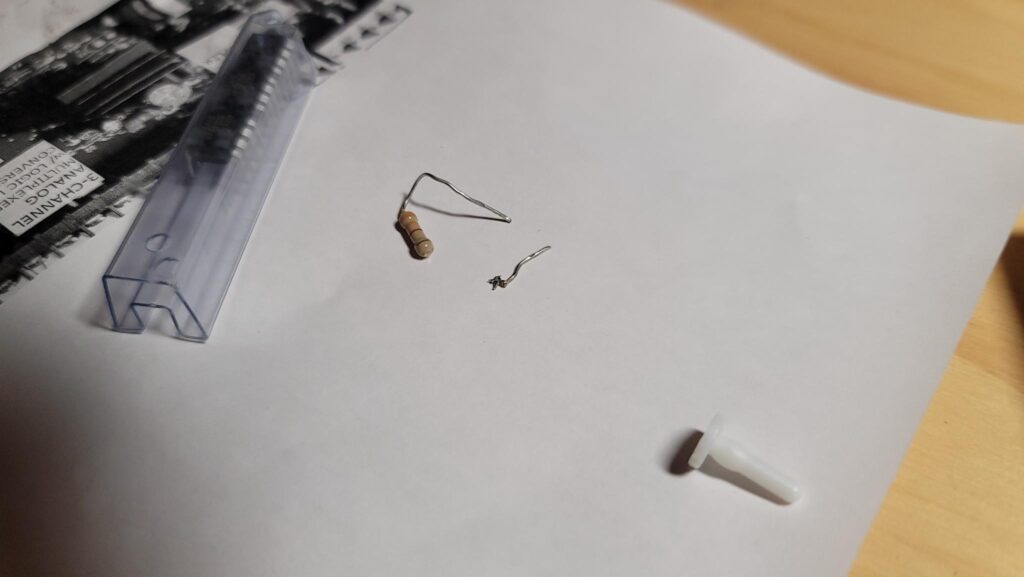
The axial lead literally broke directly off the component. I have no idea how that happened. Maybe I was aggressive or maybe it was time. Either way, I luckily had a few spares on hand and replaced it. Now that Zone #5 was repaired, let’s turn this back on… again…
BEEP BEEP BEEP BEEP BEEP BEEP
The unrelenting beep just kept…On…Going. I started brute forcing codes, anything that’s common like 2580, 0852, 1234, 123456, 4321, and so on. I didn’t succeed. Eventually, I got the idea to just pull the EEPROM out of the system, and throw in a blank new one. I know I warned about doing this previously, but I was mad and it made me feel better. The default state of the EEPROM was 8192 bytes of FF. I threw it in, and the panel was tweaking. It was almost like it kept falling into a reset loop or something. The keypad would slightly chirp every second or so.
I then took that EEPROM, since it didn’t get me anywhere either, and read it’s contents and compared it. It was significantly emptier than the original one. This made me think that it could give me areas of the chip to ignore by comparing it. Still, I’d have to manually guess what out of the 8,192 bytes (minus similarities) I needed.
Giving Up
I’m tired at this point. I’ve spent from 7PM to nearly 11 on this. Had a few too many fireballs while doing so. I’m going to just try and do more googling on Factory Reset.
Out of sheer frustration, I want to show you all of my bookmarks, videos, and links it took to find the answer to this, but instead, here’s the CORRECT answer.
I have no idea if that’s a good domain, but I’m a fan now. Turns out this is the process:
- Power down the panel
- Within 10 seconds, enter the following
- *8 + 9713 + 0# + 910# + Exit Key a few times.
At this point, the beeping stopped and the code “1234” worked just fine on the panel. Of course you could have figured this out since the code is so damn obvious. /s for you Redditors that haven’t caught on.
But I don’t care if I have a working system. This isn’t going back in the house because the manufacturer makes it too pricey to add an Ethernet module. So, I immediately took the EEPROM out of the board.
You’ll notice I didn’t say I “powered it down safely and then removed the EEPROM”, no. I was so damn happy and the system was so quiet that I actually completely missed it. So then it went back in that weird chirp mode.
Whatever. I then took the dump and compared it against the original dump when I started this project, and I ended up here:
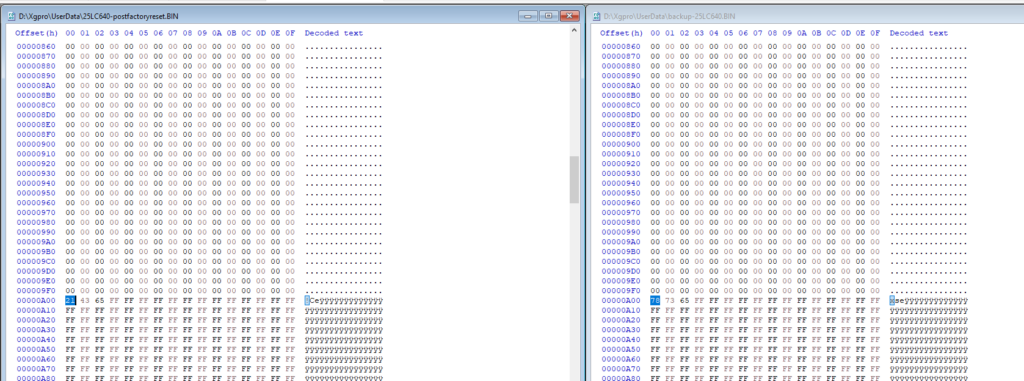
So, at address A00, something looked interesting. The bytes on the left (the factory reset dump) read:
- 21 43 65
I happen to know the PIN is 1234 now. I also know the system takes 123456 if you want 6-digit PINs (I’m not sure how well it is supported, but the system makes space for it).
I didn’t expect the data to be stored in this way, for some really stupid reason. I was reading the decoded ASCII and ignoring the raw, hex dump on the left. Even still, just because it’s obvious here doesn’t mean I’d have read all the raw HEX and tried every numeric combination possible. This looks pretty convincing, but I really still have no idea, and the fact it is stored like this (and I don’t know the endianess of the microcontroller) means I really have no idea if I hit pay dirt.
So, let’s look back at the original:
- 78 73 65
Alright, so the first two bytes are for sure different. The last one is the same. Perhaps, then, the code was a 4-digit system PIN and the 65 are ignored unless specified?
To confirm I hit the right address of the EEPROM chip, I reflashed a chip with the original dump, and then I tried the PIN 8737… And guess what?
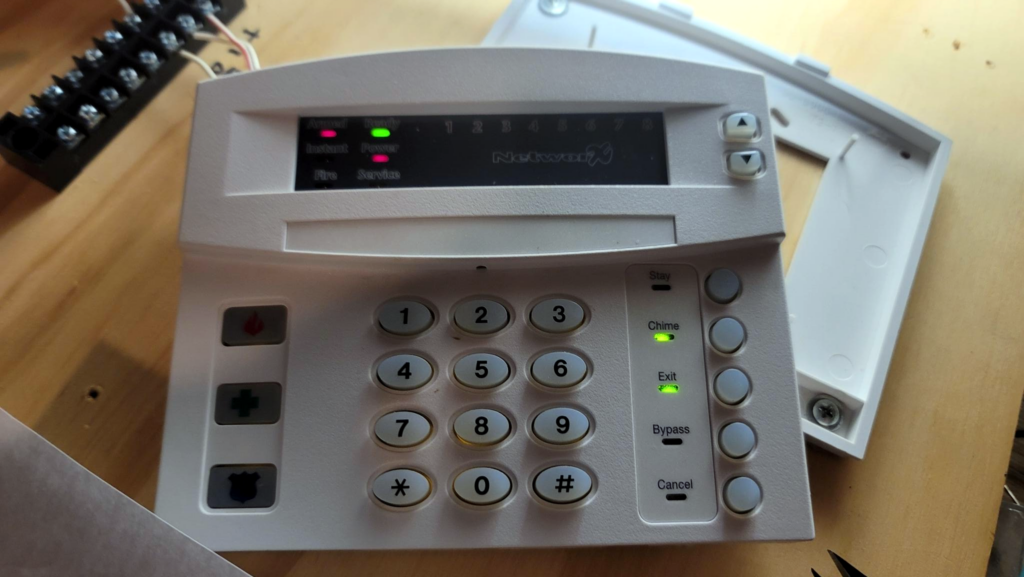
LED in the top left indicates an “Armed” system. Repeating this code disarmed it.
I was absolutely thrilled, but as a tree killer, I had to review my printed HEX dump. See, my plan was to highlight this and hopefully see something off a screen. It was confirmed to be there:
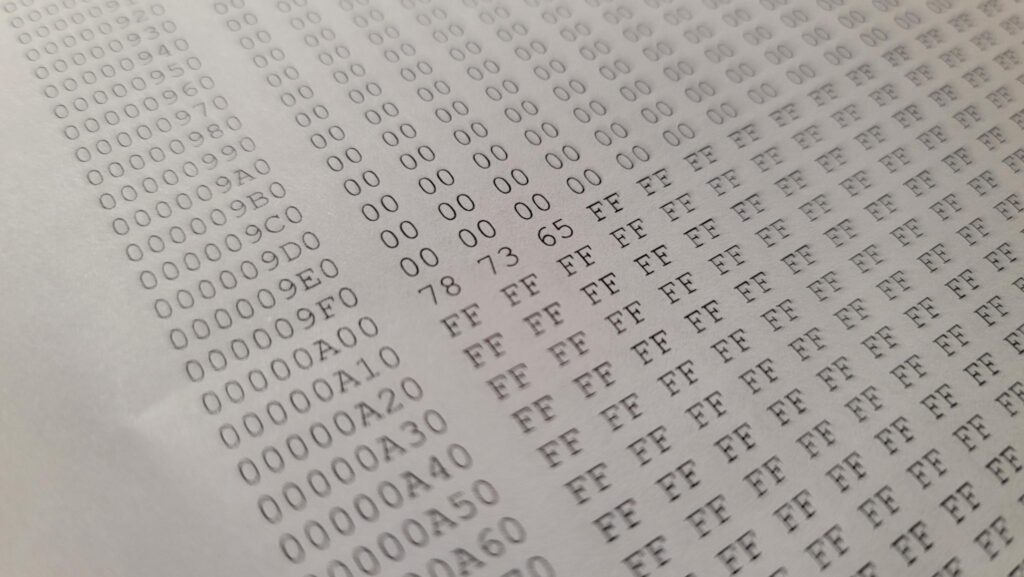
Right at A00, you’ll see the 78 73 65. This was a pretty cool ride!
How Insecure!!!
I know security professionals in postmortem, everything was obvious the entire time and nobody did a good job of security. I’d argue the manufacturer did great — so far.
This code was NOT maintained on the key pad. To get this code, you’d need physical access to the alarm panel board, inside of a locked metal box, inside of (at least in the houses built in the DFW area) the locked master bedroom’s closet.
One would argue that if you have access enough to somebody’s house to access the security panel, shut it down, and dump the EEPROM to get this code, you have more access (and knowledge) than most.
Next I’m hoping to learn more about this serial communication protocol between the keypad and the panel and see how difficult it would be to use a vampire tap, and “tee” the data and capture the legit PIN in transit.
Leave a Reply