Update 2024: This was wrote back in 2019, and while Kwikset SmartKey was around, it wasn’t as common. If you see a small slot next to your keyway, this guide is likely not applicable to you.
I’ve been largely an information security-heavy person, I’ve decided that I need to start getting “physical” with physical security. I’ve bought a bunch of padlocks, picks, pins, tension wrenches, keys and the like. I’d love to show you how to lockpick, but I’m a novice at best and there are much better videos out there.
Today, I’m going to show you how to use a handy re-pinning kit on a Kwikset Deadbolt (I’ll do a door handle later on)
Before we Start
- I am not affiliated nor compensated by Kwikset, or from the Change-A-Lock folks
- I actually did a Schlage kit first, but I wanted to have Kwikset tools as well.
- I bought the locks and kit for this blog, yes you shouldn’t post pictures of keys — I’m okay with a blog being public :). The door knob and deadbolt kit was $21.99, the key change kit was $7.99 at Menards (A Midwest version of Home Depot).
- I was distracted and blew my lock up (driver pins and springs everywhere). Imagine my surprise, however when I seen two spool pins — IN A CHEAP LOCK! Thanks Kwikset!
- If your lock is a Kwikset SmartKey product (the keyhole has a small slit next to it) — there are much easier ways to rekey your lock. Don’t follow this advice.
- You will need one of the following to rekey, even if it is unlocked:
- Mad lockpicking skillz
- A working key for the lock
Reasons to Rekey
Rekeying makes all old copies of your key useless. If you have friends, family, or neighbors you once were crazy enough to give a key to — you are a candidate. If you are a landlord and want to save the expense of locks on your building, or if you are moving into a new residence — these kits are about $1.25 per cylinder (most houses have a locking doorknob and a single-cylinder deadbolt. — so about $2.50/door. This is much cheaper than the $21.99 I spent on the lockset used in this blog.
Enough about me!

I will do a rekey right out of the package — you will need to remove the knob from your house to get started. If you can’t fire up a screwdriver and knock out two screws, you’ll need to call an ambulance because you might need help.
The Change-A-Lock Kit
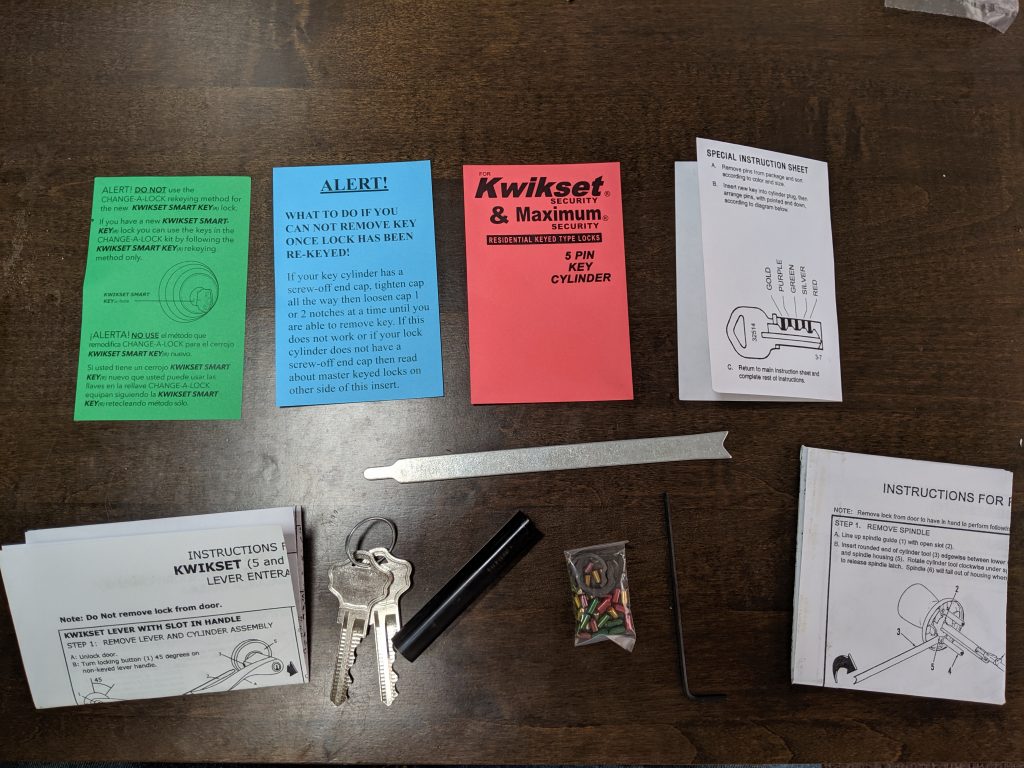
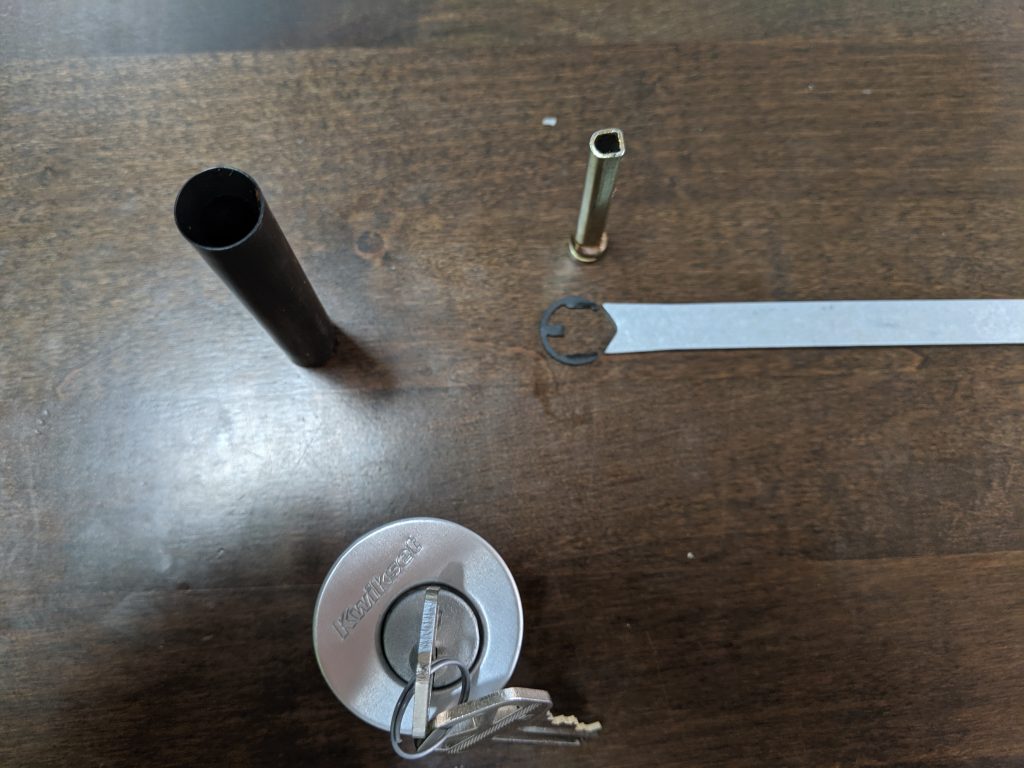
The Change-A-Lock kit comes with colored/coded pins, a plug follower, a clip remover, new keys, instructions, and sometimes a few other tools (a spring tool or an allen wrench, for example). You can get away without these tools (using pliers and a socket, for example) but for the price the kit is totally worth it. You can also buy large pin assortments from Amazon or E-Bay, but then you’ll need to visit a locksmith to get a key cut. Your typical hardware store can only -duplicate- keys, not originate them from a code. So there’s that too.
I had a key cut by a locksmith yesterday from code for a later project — He charged a $6.00 code fee and then $2.80 for each key blank I wanted. With tax, out the door was $9.02 for one key. So you’re looking at ~$11.50 for a set.
Removing the Cylinder
Slam a bottle of bourbon and then say “escutcheon plate” five times fast.
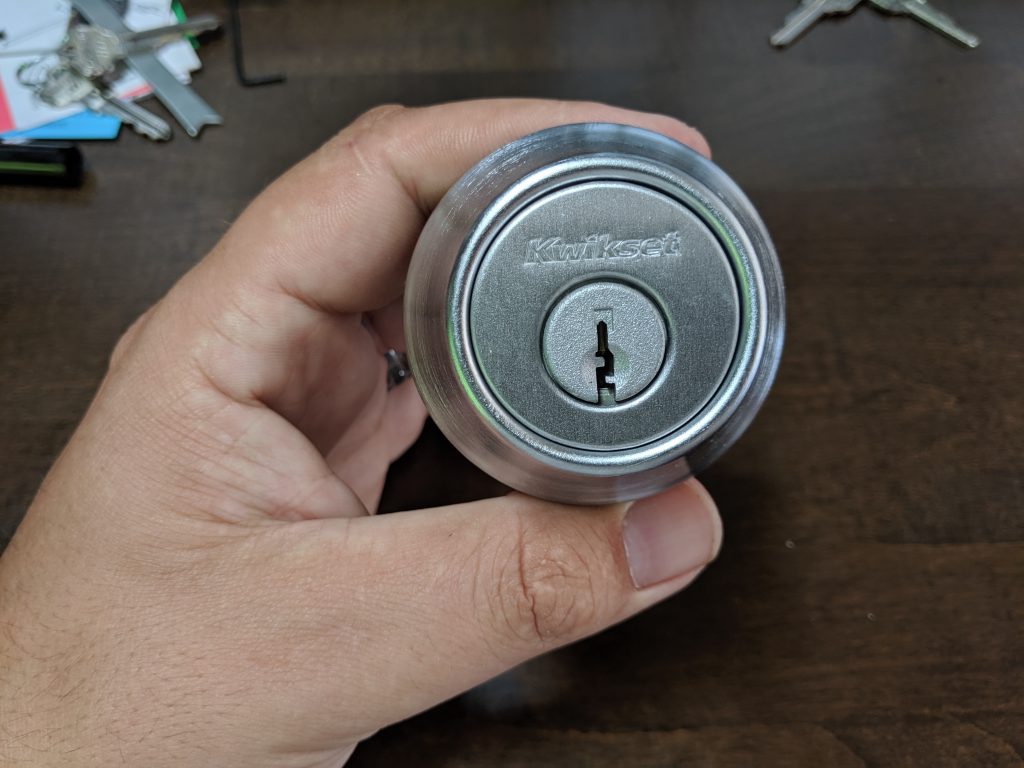
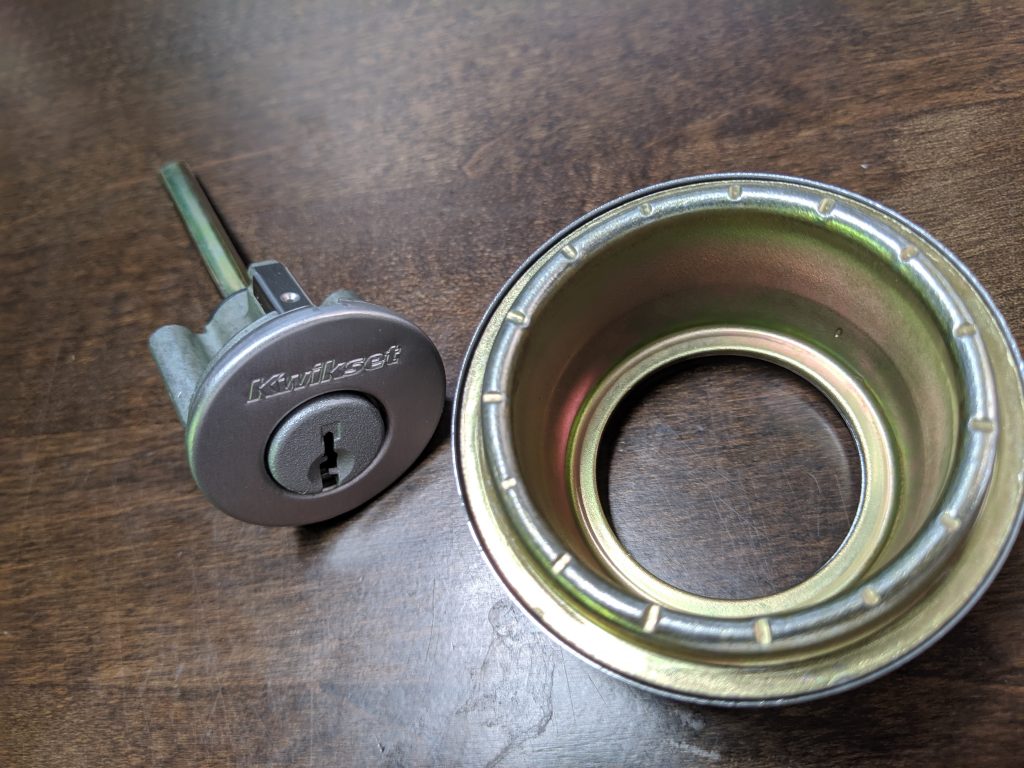
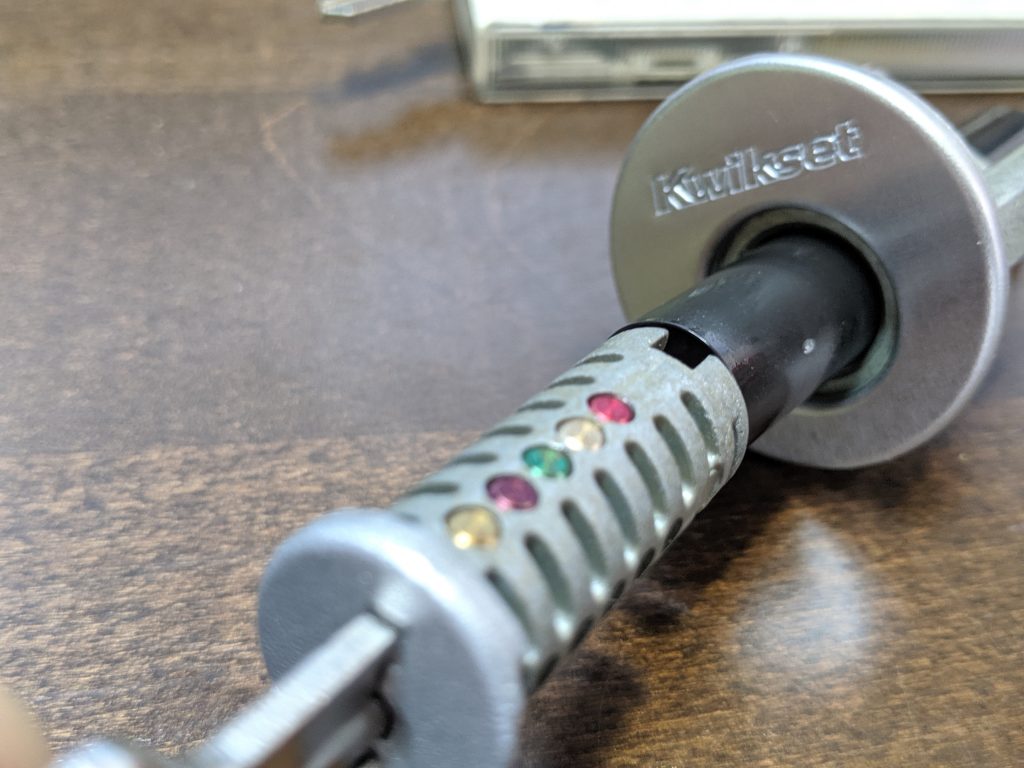
This picture shows a typical Kwikset cylinder without “SmartKey”, no little notch next to the keyway. What we will do is remove the escutcheon plate by sliding it down the tailpiece:
Next, breathe in a lot of air, because you will probably say a few dirty words in this step. Use the E-Clip remover to remove the clip and tailpiece:
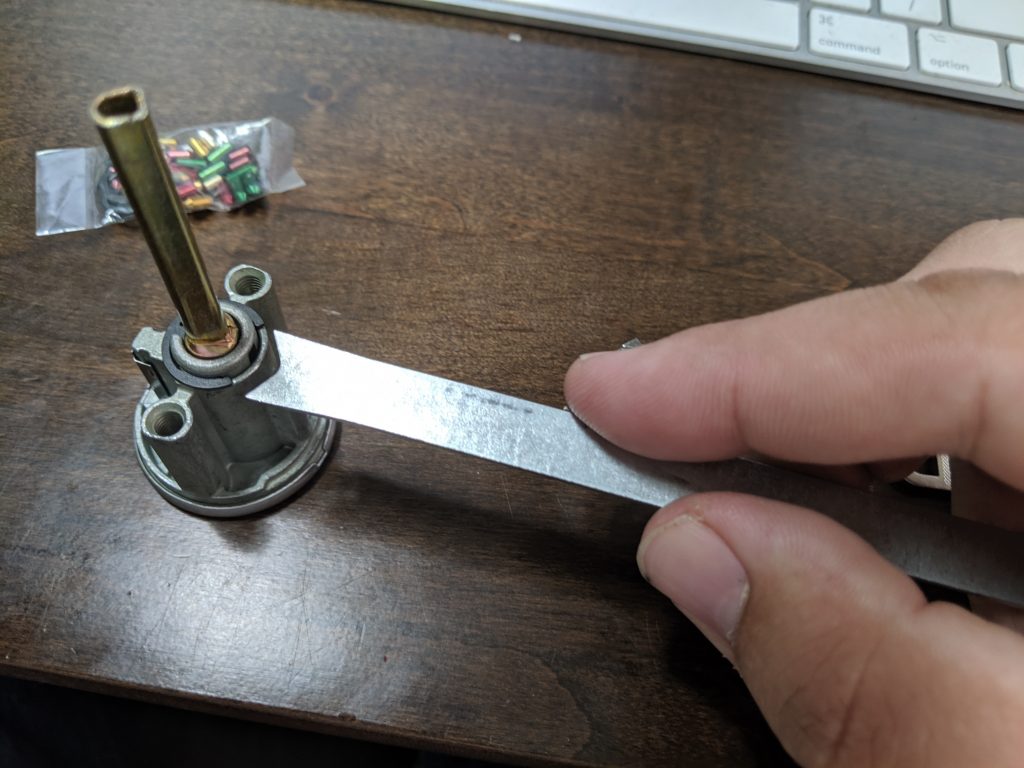
The E-Clip is the dark (black oxide) metal ring around the base of the tailpiece. Hold the cylinder and press the indentation around the lock to push off both sides of the e-clip. Now, set the tailpiece, removal tool, and e-clip to the side:
Next, insert your original key and turn the lock 45 degrees to the right (if you go left here, you may lock the cylinder down by dropping the driver pins into construction holes. Don’t do that.
At this point, be VERY CAREFUL. If you pick it up by the key, you will extract the cylinder and the driver pins and springs will go everywhere and take you about 42 minutes to find (some idiot I know did this by accident. It was me).
Without pulling the key or cylinder out, use the plug follower to push the back of the cylinder out of the bible (the bible being the remainder of the lock).

You’ll see the cylinder come out of the bible, and you won’t have springs and driver pins go everywhere.
The five brass pieces you’re seeing here — those are your original key pins. Keep them if you ever want to rekey to the original.

If you insert your original key and push back down on the brass key pins, you’ll see they all sit level. This is how a lock checks your key.
Repinning the Lock
2024: I can’t seem to find this particular image in my library, if I do, I’ll update it, but it seems to be lost to time. I did, however, recycle part of the image above of the entire kit that seems to address it.
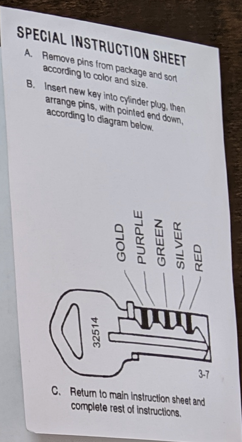
The above picture shows the pin order from the instructions (with the key code visible on the head of the key). Remember — the pin at the tip of the key as at the rear of the cylinder — being pin #5.
The top key and colored pins are from the replacement kit. The bottom are the original. The color has no use except to make identification easy for you.
Insert the pins into the cylinder, and then insert your key to make sure they sit level:
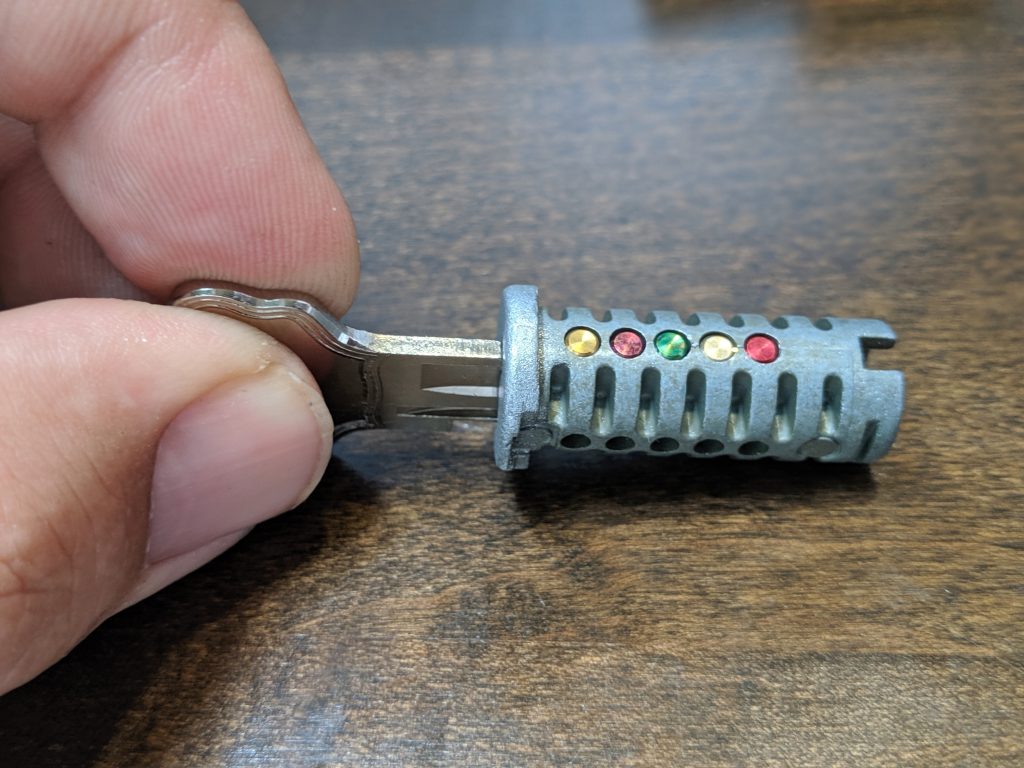
If you find that your pins are NOT LEVEL — being over or under this shear line, make sure you’re using the -new- key. If they are still not level, dump them out and try again. You may have reversed the order. You also want to make sure the pointed end goes -into- the hole first. That is the part that contacts the key. If they are level — great, lets go ahead and push out your plug follower with the new cylinder.
Make sure you hold your cylinder like you did before — 45 degrees to the right of the top of the cylinder, and then push out the plug follower with the cylinder:
At this point, you may re-attach the e-clip (remember the tail piece). Then, move your key so the teeth point up (0 degrees) and remove the key — it is now locked!
You have rekeyed a lock!
Once you do this a few times, you will be able to knock these out under five minutes a lock.
If you want to blog about keys — feel free to, but my new project https://keyoftheweek.com (2024: Project Discontinued) highlights why you should be very careful posting pictures of keys online.
Leave a Reply