This is crazy. Most of the blogs I post with “parts” never see a final “part” because I get bored, go to another task, etc and backburner it. Finally, this one is “done”.
That said, most of the meat here is over in Part 1… So read that first.
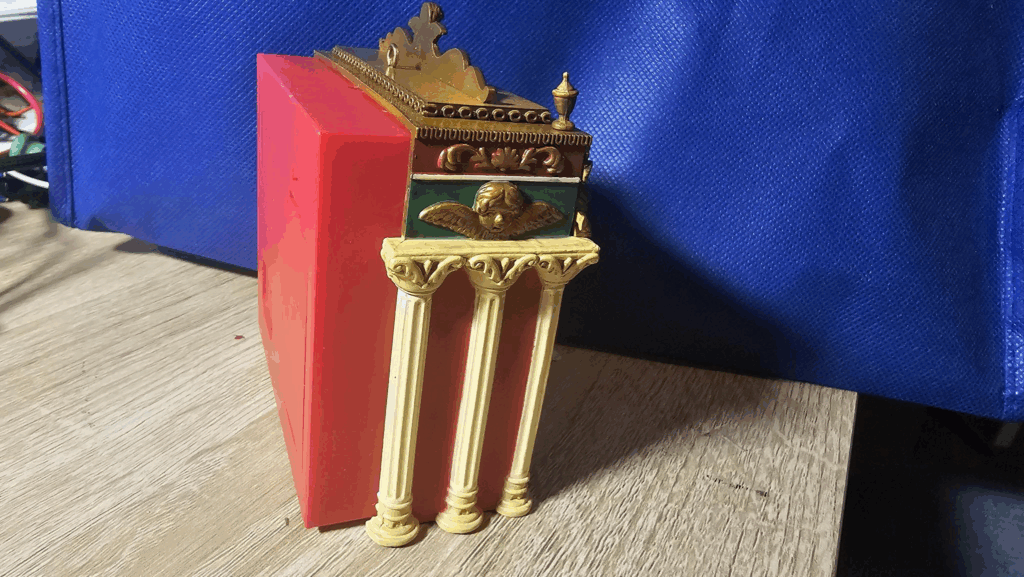
The goal I left off on was printing another adapter (which I did, and it was still 0.28mm off… which given my favorite 3d-print layer height, was fine).
And to get the light flickering like the original — all while making it look “factory”.
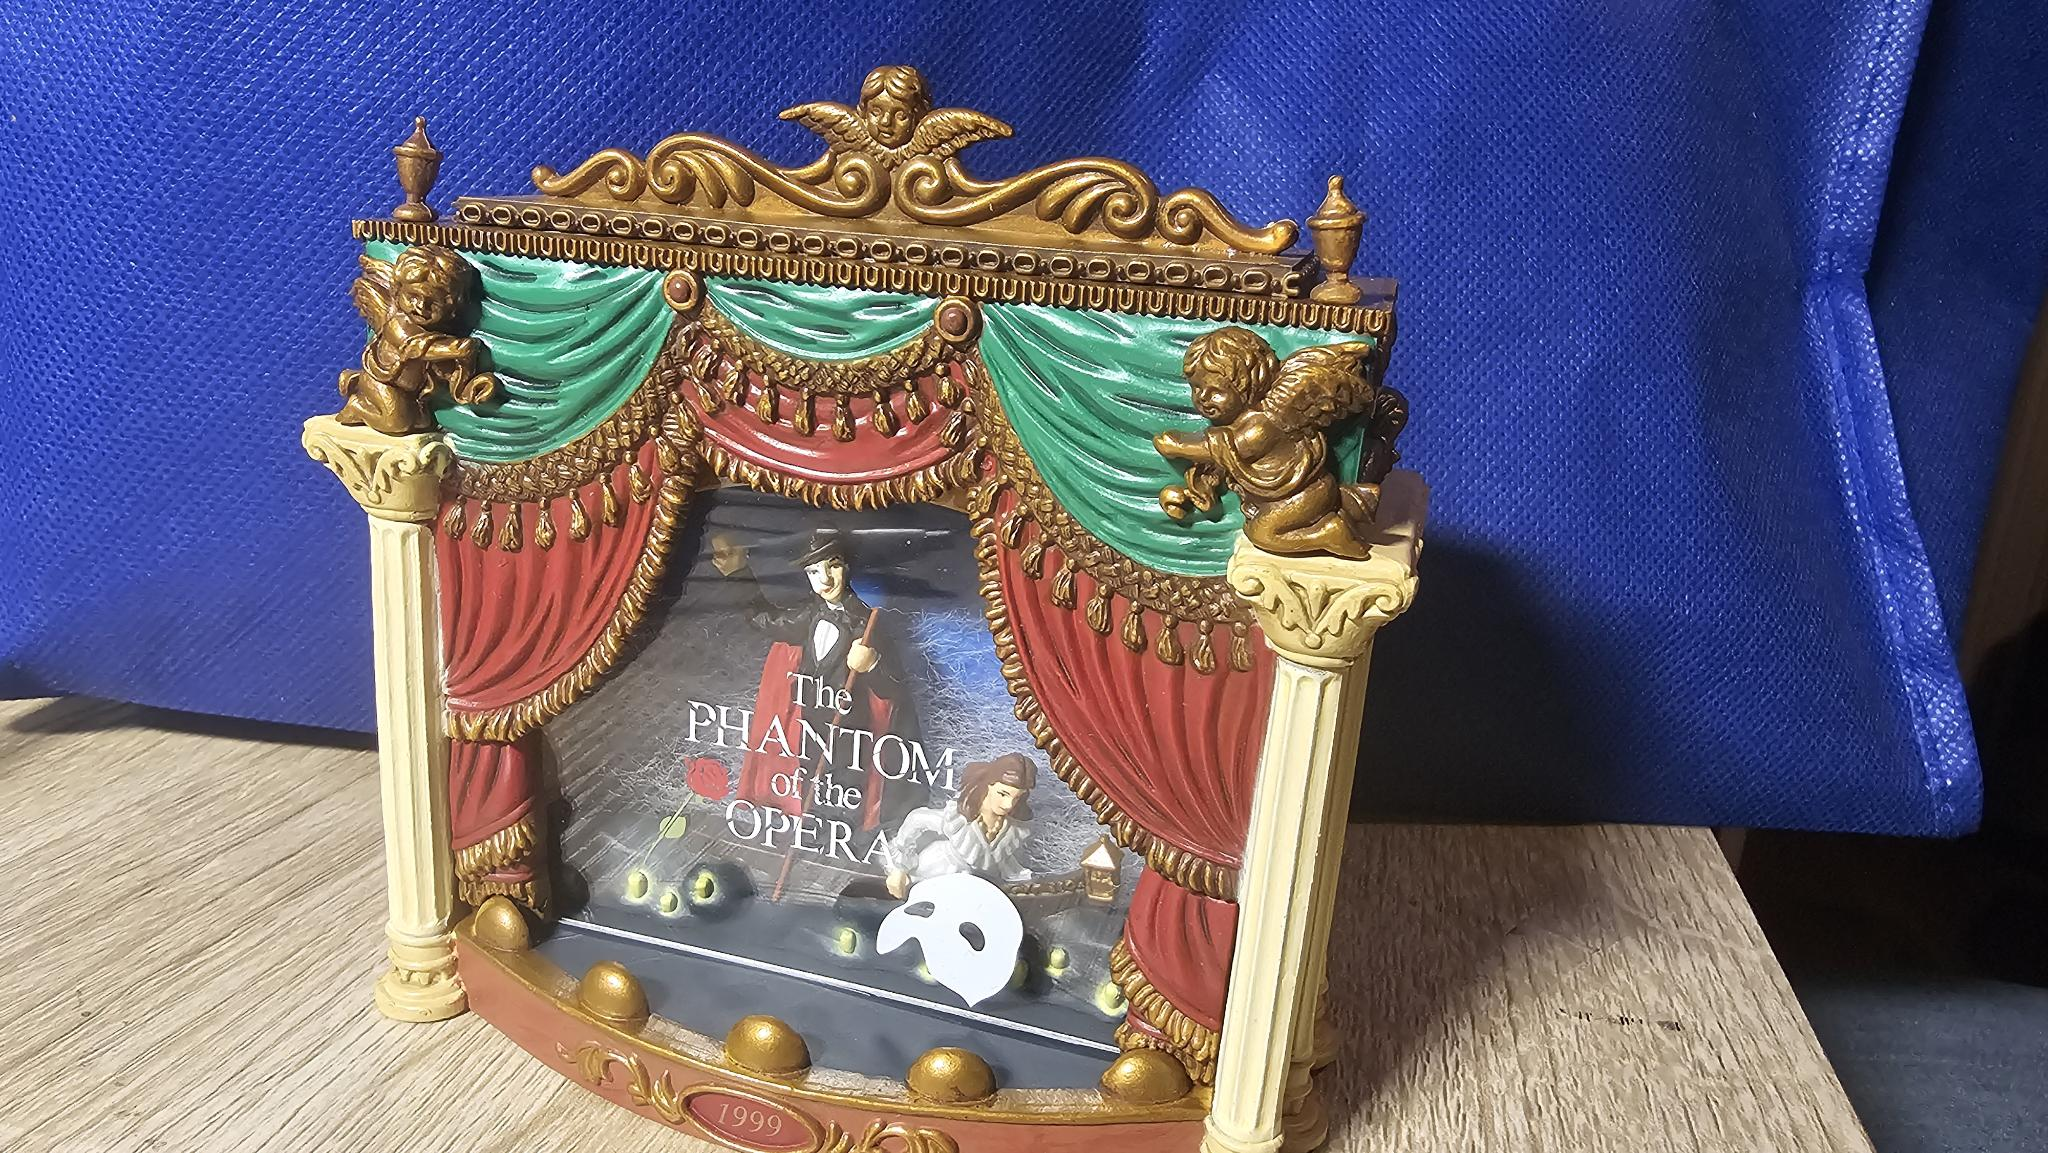
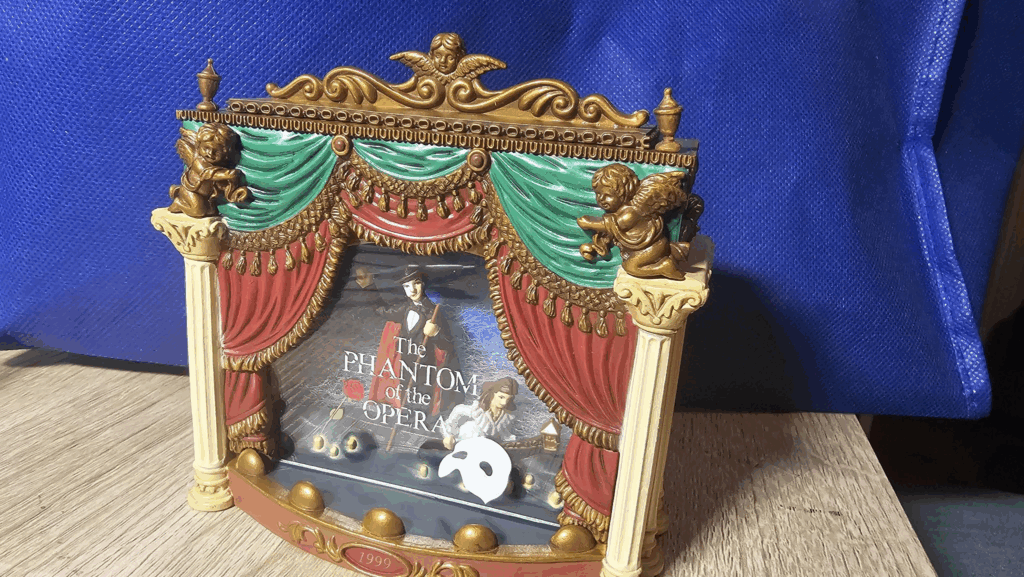
First off was to trim down the background image, and get it mounted to the 3d printed backing plate:
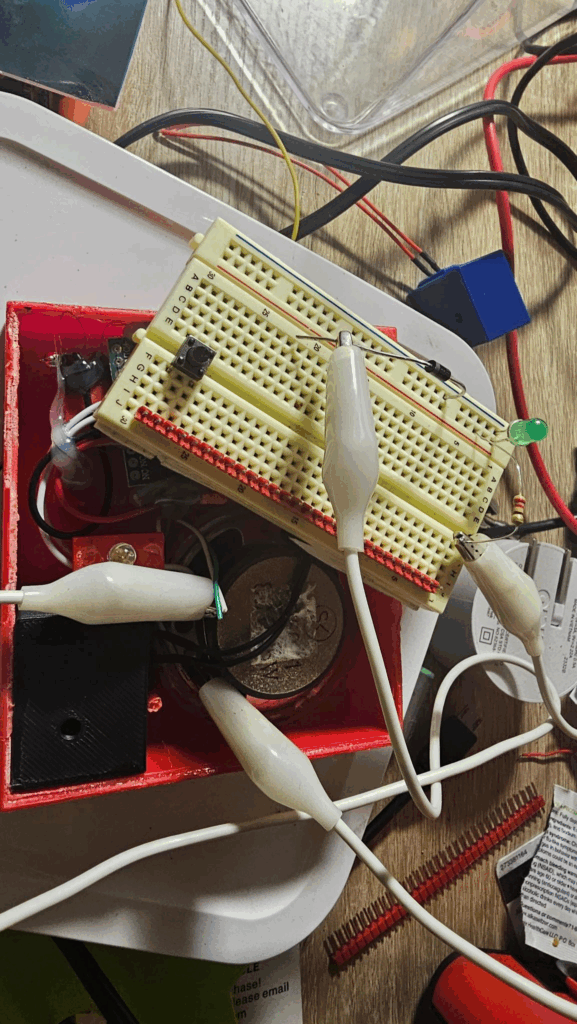
Above, you can also see the new adapter… I “spot welded” it with a few drops of super glue so I could rock it, push it hard, push it light, etc. That way I knew it was reliably going to work. Once I figured that it would, I went a bit ham with it.
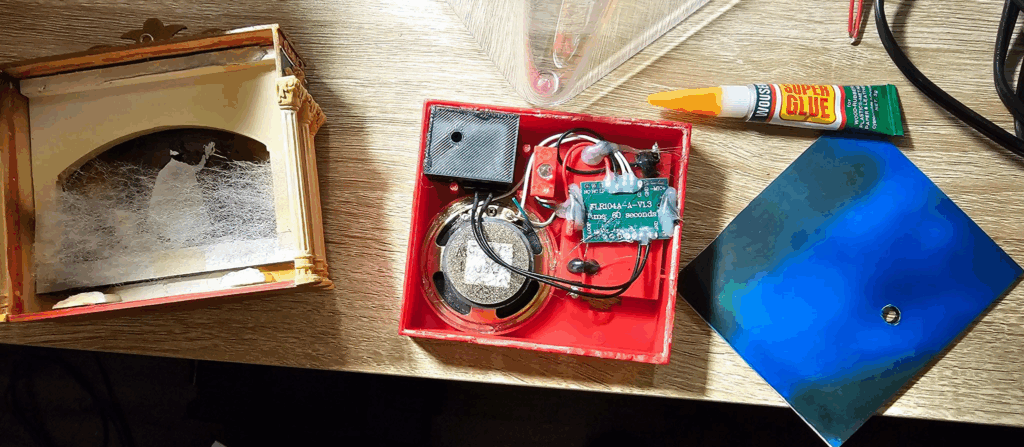
Next, I had a sacrificial LED to test out the resistance I was adding to the circuit along with the diode. I used a 1N4004 diode, but you could go smaller, it’s just what I had on hand.
You can see that the resistor goes to one leg and the diode to the other. Changing out resistors lets me change the brightness, but I felt good at a safe 220 Ohm. Even if I got the LED polarity backwards, the diode should not allow >1v reversing, so it shouldn’t impact the LED. This is good to know since the factory one makes it hard to see inside of the diode package, the flat side, and the leads are trimmed. I’m sure I have a diode meter but this was better.
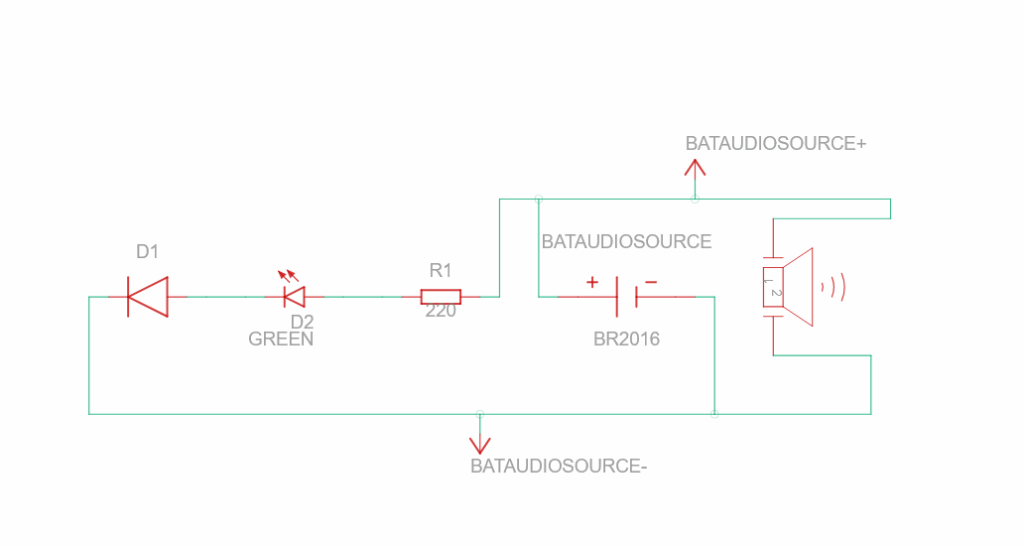
The above diagram “estimates” what I did for the lights — I used Tinkercad for the schematic because it was the fastest, but the battery pictured would actually be the speakers +/- rails from the amp. Remember that the +/- from your amp is meaningless if you have one speaker because it’s AC (meaning it jumps from + to – and back).
If you have two speakers (or more) than the phase becomes important (so the sound doesn’t cancel out or conflict with the other channel).
I’m happy this worked because I’ve been kicking around trying this for over a month and just needed to go and “do” it.
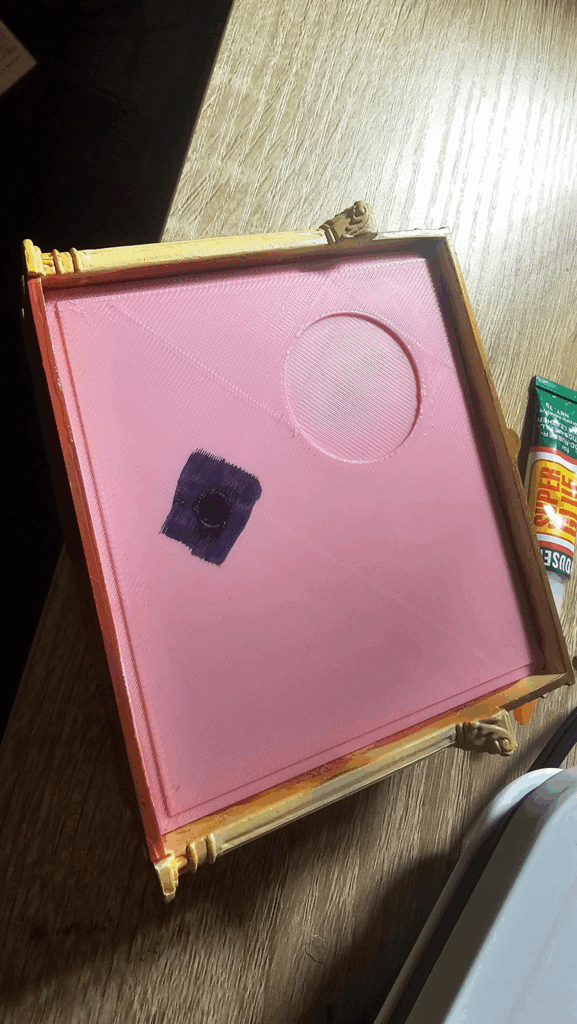
Next, I flipped the image down into the ornament. The black square is just a bit of permanent marker to reduce reflections off of the pink. I suppose I should have printed it in a different color. But I didn’t. So there.
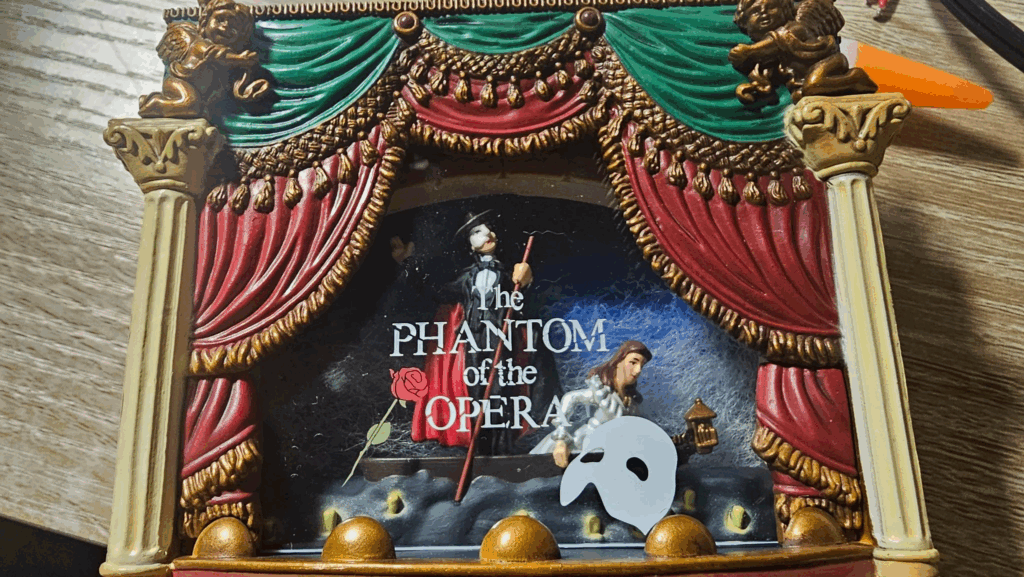
The background is barely visible and I likely did some overkill repairing the old one, but I wanted my wife to know I care and take time doing it right.
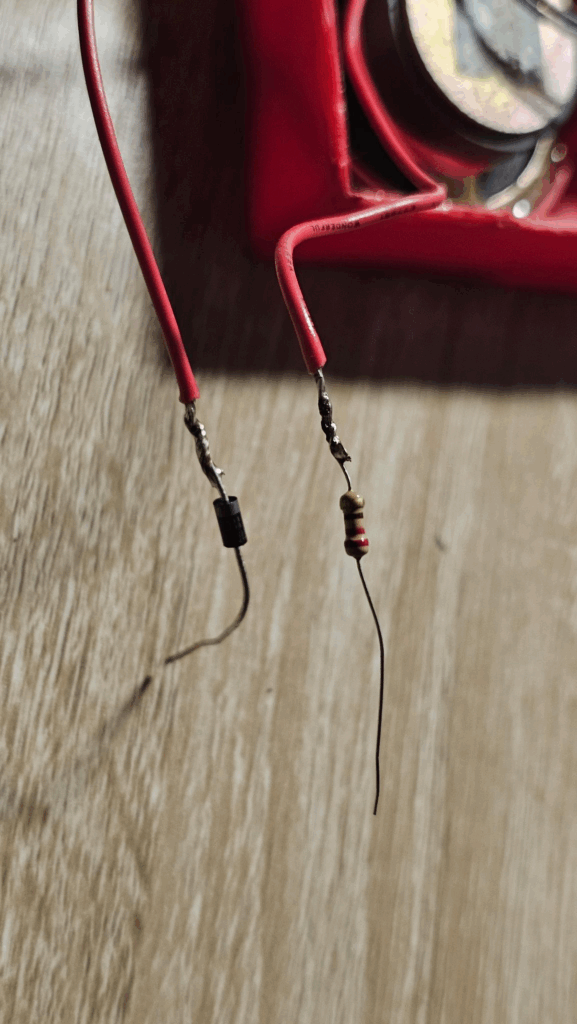
Next, I tapped onto the speaker terminals with some thin wire — and added the resistor to one leg and the diode on the other. The first way I probed it (green to resistor, white to diode) worked! The light wasn’t that bright but my wife told me to go with what I thought was best and I wanted to keep the brightness conservative. If for some reason you are actually following along, now is the time to add the heat shrink tubing you’ll for sure want around these components.
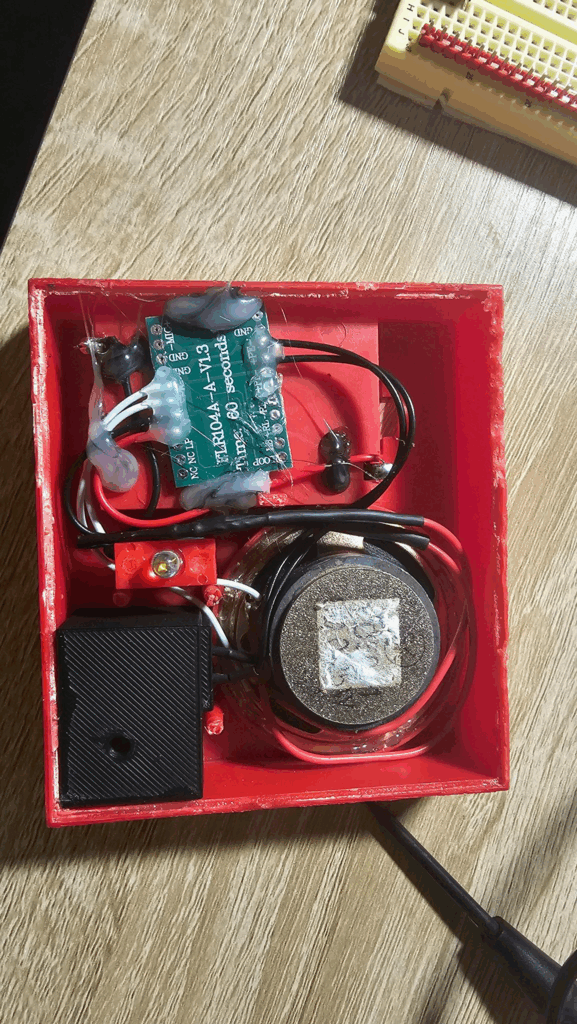
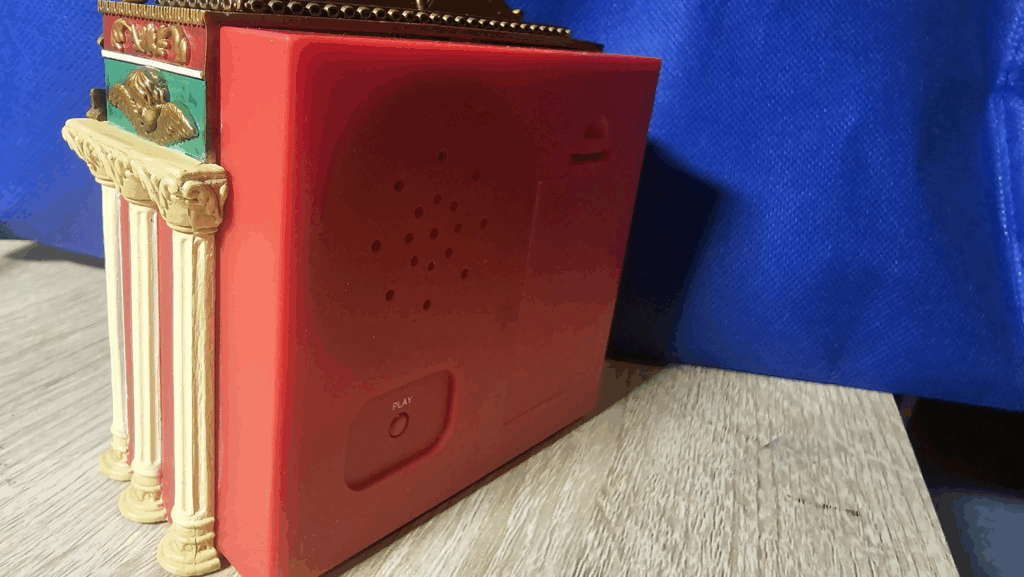
Here’s the innards of the unit, completed. I shrinkwrapped the wires and tucked it out of the way so the back could fit inside again. I then added a few drops of superglue with it back inside.
Completed Project
Where it isn’t perfect and what I intend to do about it:
| Defect | How I’ll solve |
|---|---|
| The song repeats. The original didn’t | I won’t |
| The volume is louder now | I won’t |
| The LED is likely dimmer | I won’t |
Leave a Reply