One of my sons are homeschooled, and while he’s a bit young to understand assembly, or building his own computer, or writing his own Atari games — I can start with the fundamentals.
What a better system to learn about computers than a game system, and one so simple that the component count is incredibly limited. So, for 2nd grade computer science, we tore into an Atari 2600.
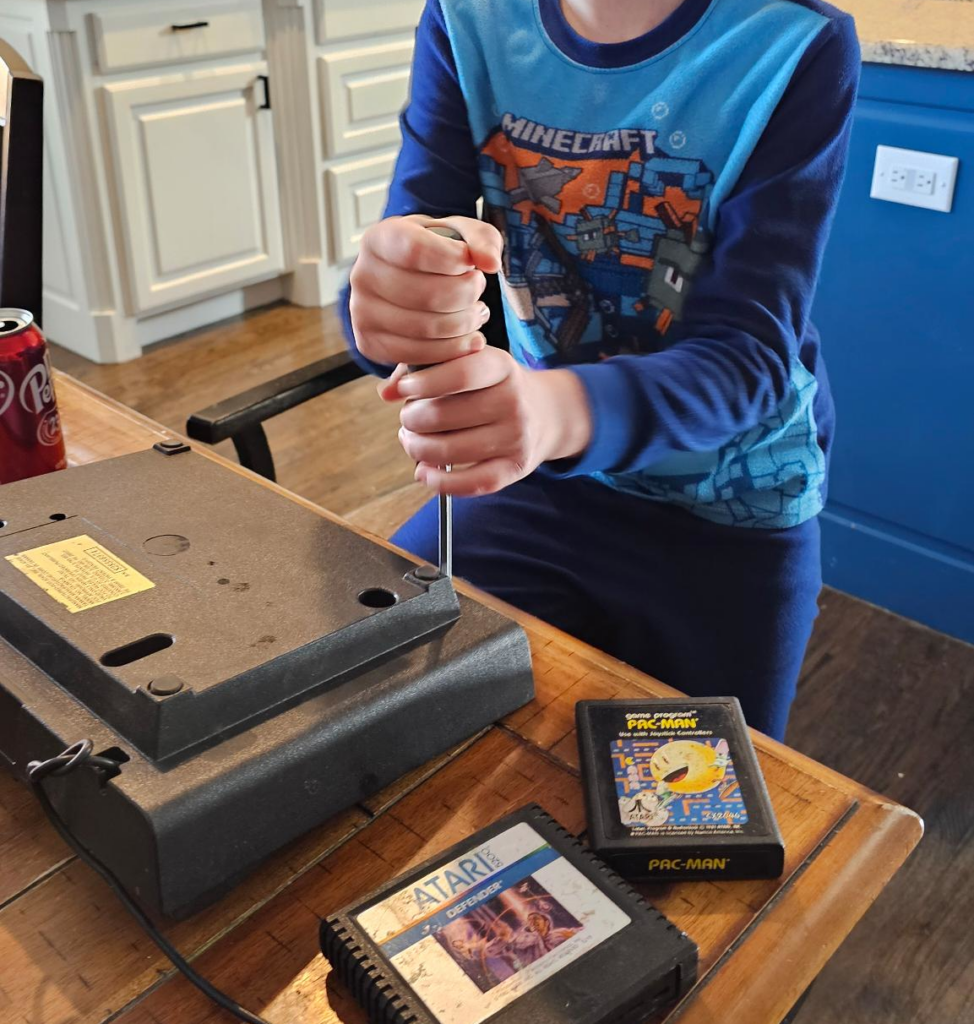
Specifically, we tore apart two units. I took the RF shield off the bottom one as I’m pretty sure it’s a failed unit.
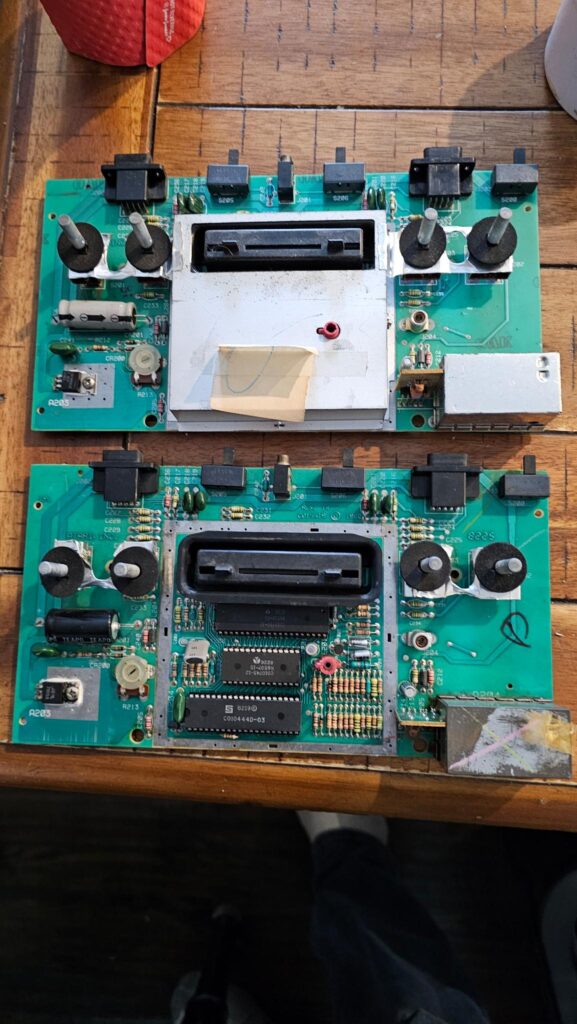
We then took the plastic bodies of the machines and cleaned them with soap and water in the sink 8-bit guy style. We did a visual inspection of the capacitors, cleaned the dust covers, connectors, and the game port, and then hit it with compressed air.
Finally, we closed it up and it was game night. The kids have been obsessed with Crossy Road on the Firestick, which is a rebooted Frogger, so of course we started there:
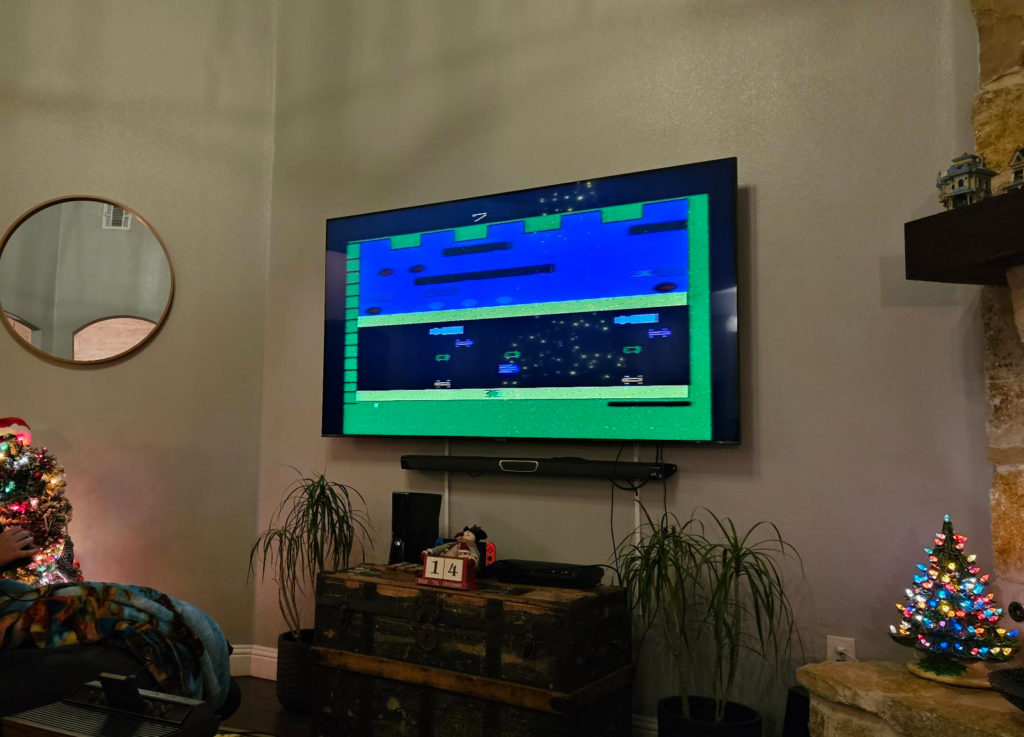
The kids loved this, I was surprised because the hitboxes are about double the size of the sprite — meaning you would get ran over by a car that already passed.
We did some Pac Man, some Kaboom, and some Super Breakout — but the game I remember playing the most (and loved) was Warlords.
As it turns out, the machine wouldn’t even turn on with the cartridge, and I know I played it before. So, we need to tear into it to see what’s up.
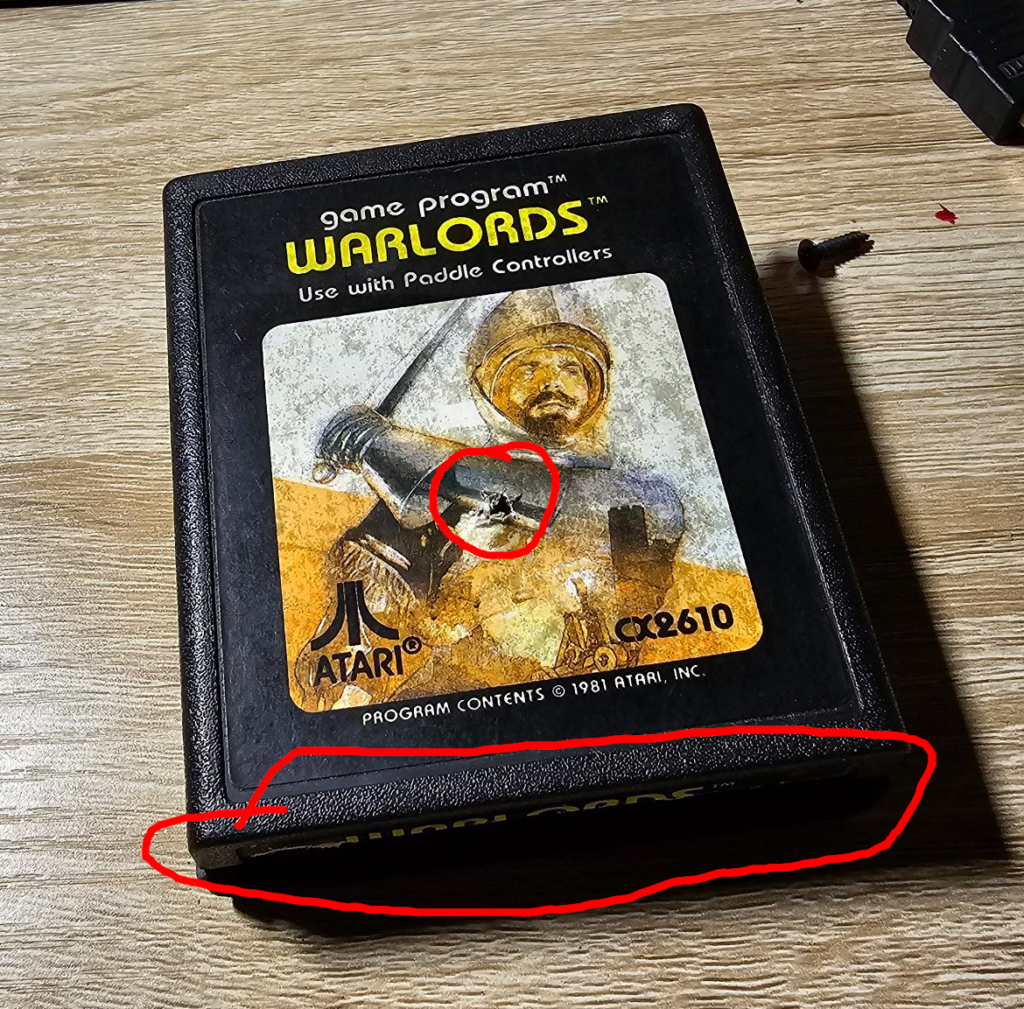
Annoyingly, “tearing it up” is a literal term. There’s a screw behind the label (the little circle), and the cartridge label on the edge also needs to be cut. Obviously, you can probably remove these with enough care — or order replacement ones. In my opinion, this label looks like shit already and the cartridge is worthless if it doesn’t work — and I don’t have the box or instructions, so in short it isn’t likely to have any value. Also, you have to pry it apart since there’s tabs. Use a spudging tool or a screwdriver or a hammer. So, in we go.
Like anything, take pictures as you go. Seems stupid with something with one screw, but the edge connector on this is reversible. It likely won’t matter if you insert it backwards (but it certainly won’t start).
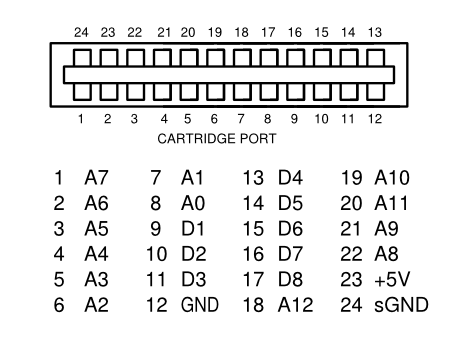
You can see here that pin 12 is GND (-) and 23 is +5v… But also 24 is “sGND” whatever that means.
If you flip it, normal GND will land where the sGND is (12 becomes 24), and +5 ends up on 11 (23 becomes 11) — which is D3. This is a data line, since the chip isn’t set to enable writing, it will effectively do nothing.
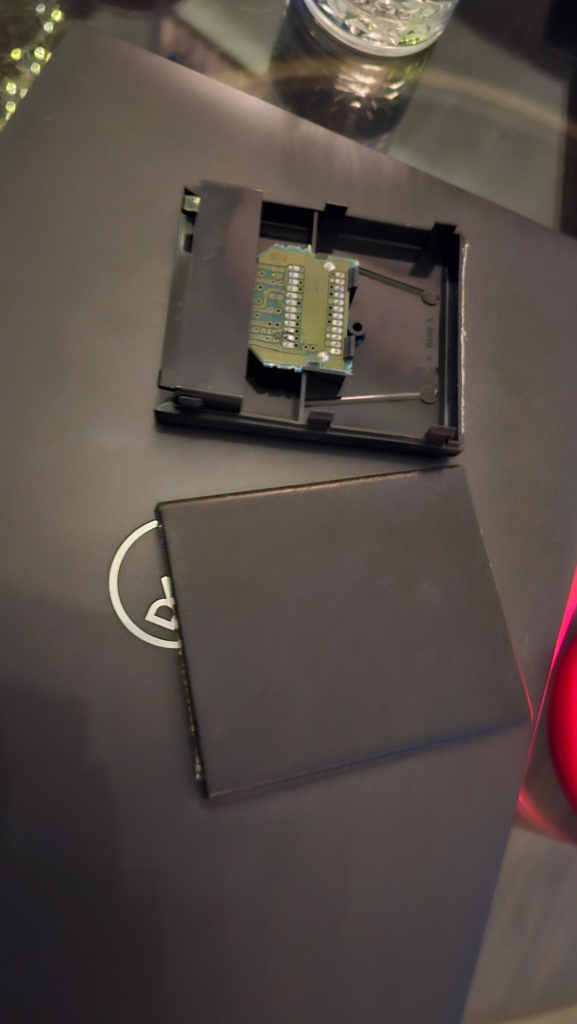
As soon as I opened it up, you can see, the ROM chip is on the label side (Facing down) of the cartridge. You likely can already see a problem. If not, I’ll use the Super Trooper enhance button:

In my head, this was going to be great — I have a board that is failing and I can just solder in a ZIF socket and then load whatever I want on the ROM and throw it in the system, like a harmony cart of sorts. So first things first, I yanked off the RF shield around the IC. According to AI, this was installed due to weird laws in the 70’s. So I’m going to toss it since I don’t see it really helping anything but bureaucracy.
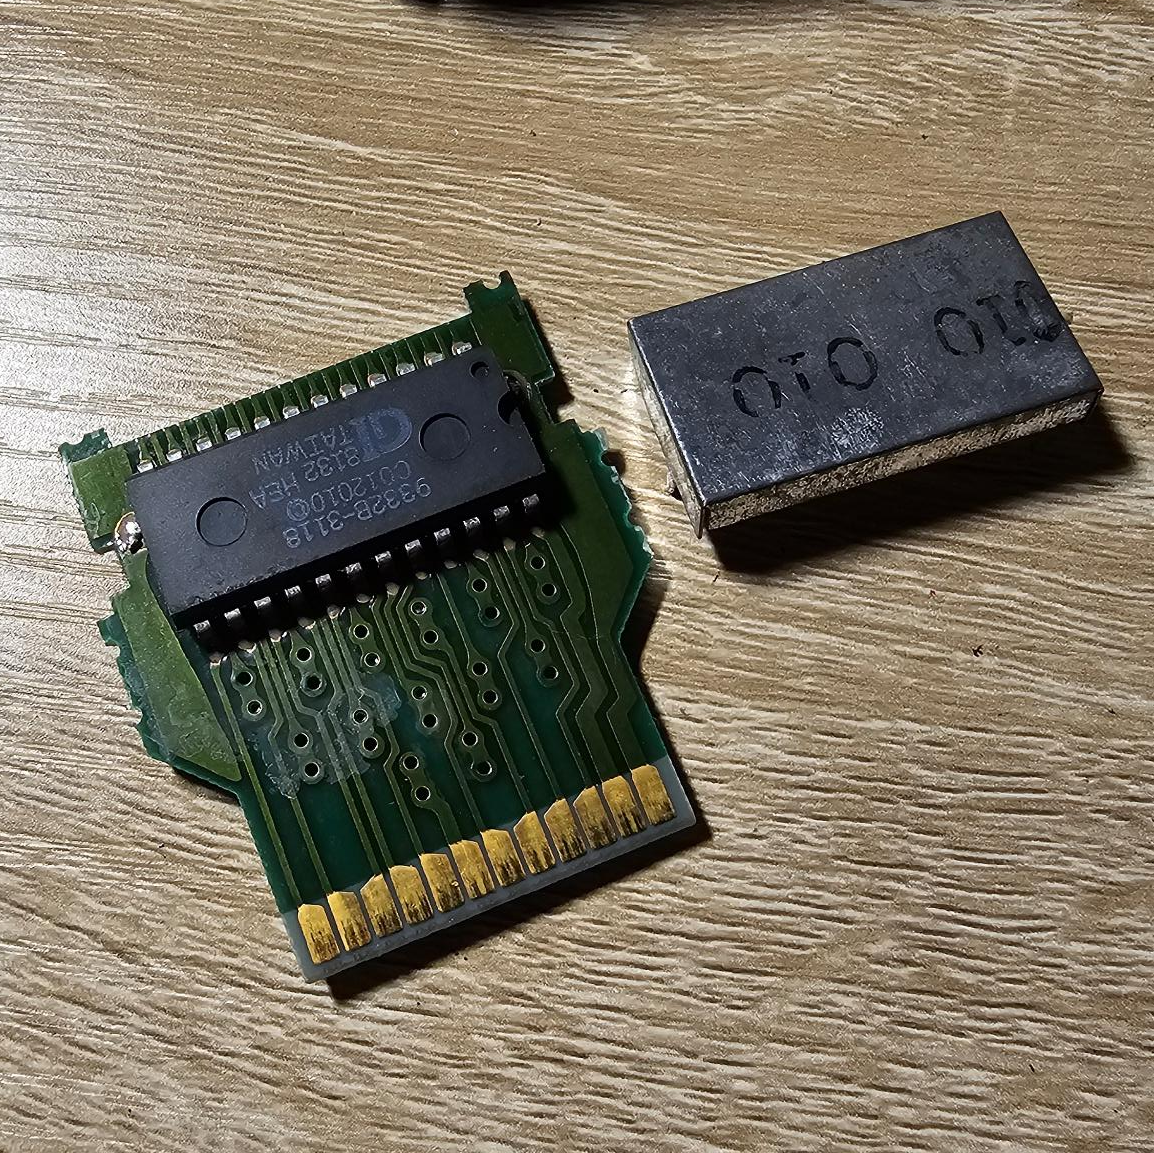
I also used a normal pencil eraser and hit all of the card edge connectors. DO NOT POLISH THESE. I have done that and it takes the brass right off and you end up with a connection that will work, but that will rapidly degrade — and there’s no good way of fixing it.
Let’s try it…
Nothing.
Still not working. Guess we have to flip it over and look at the pins.
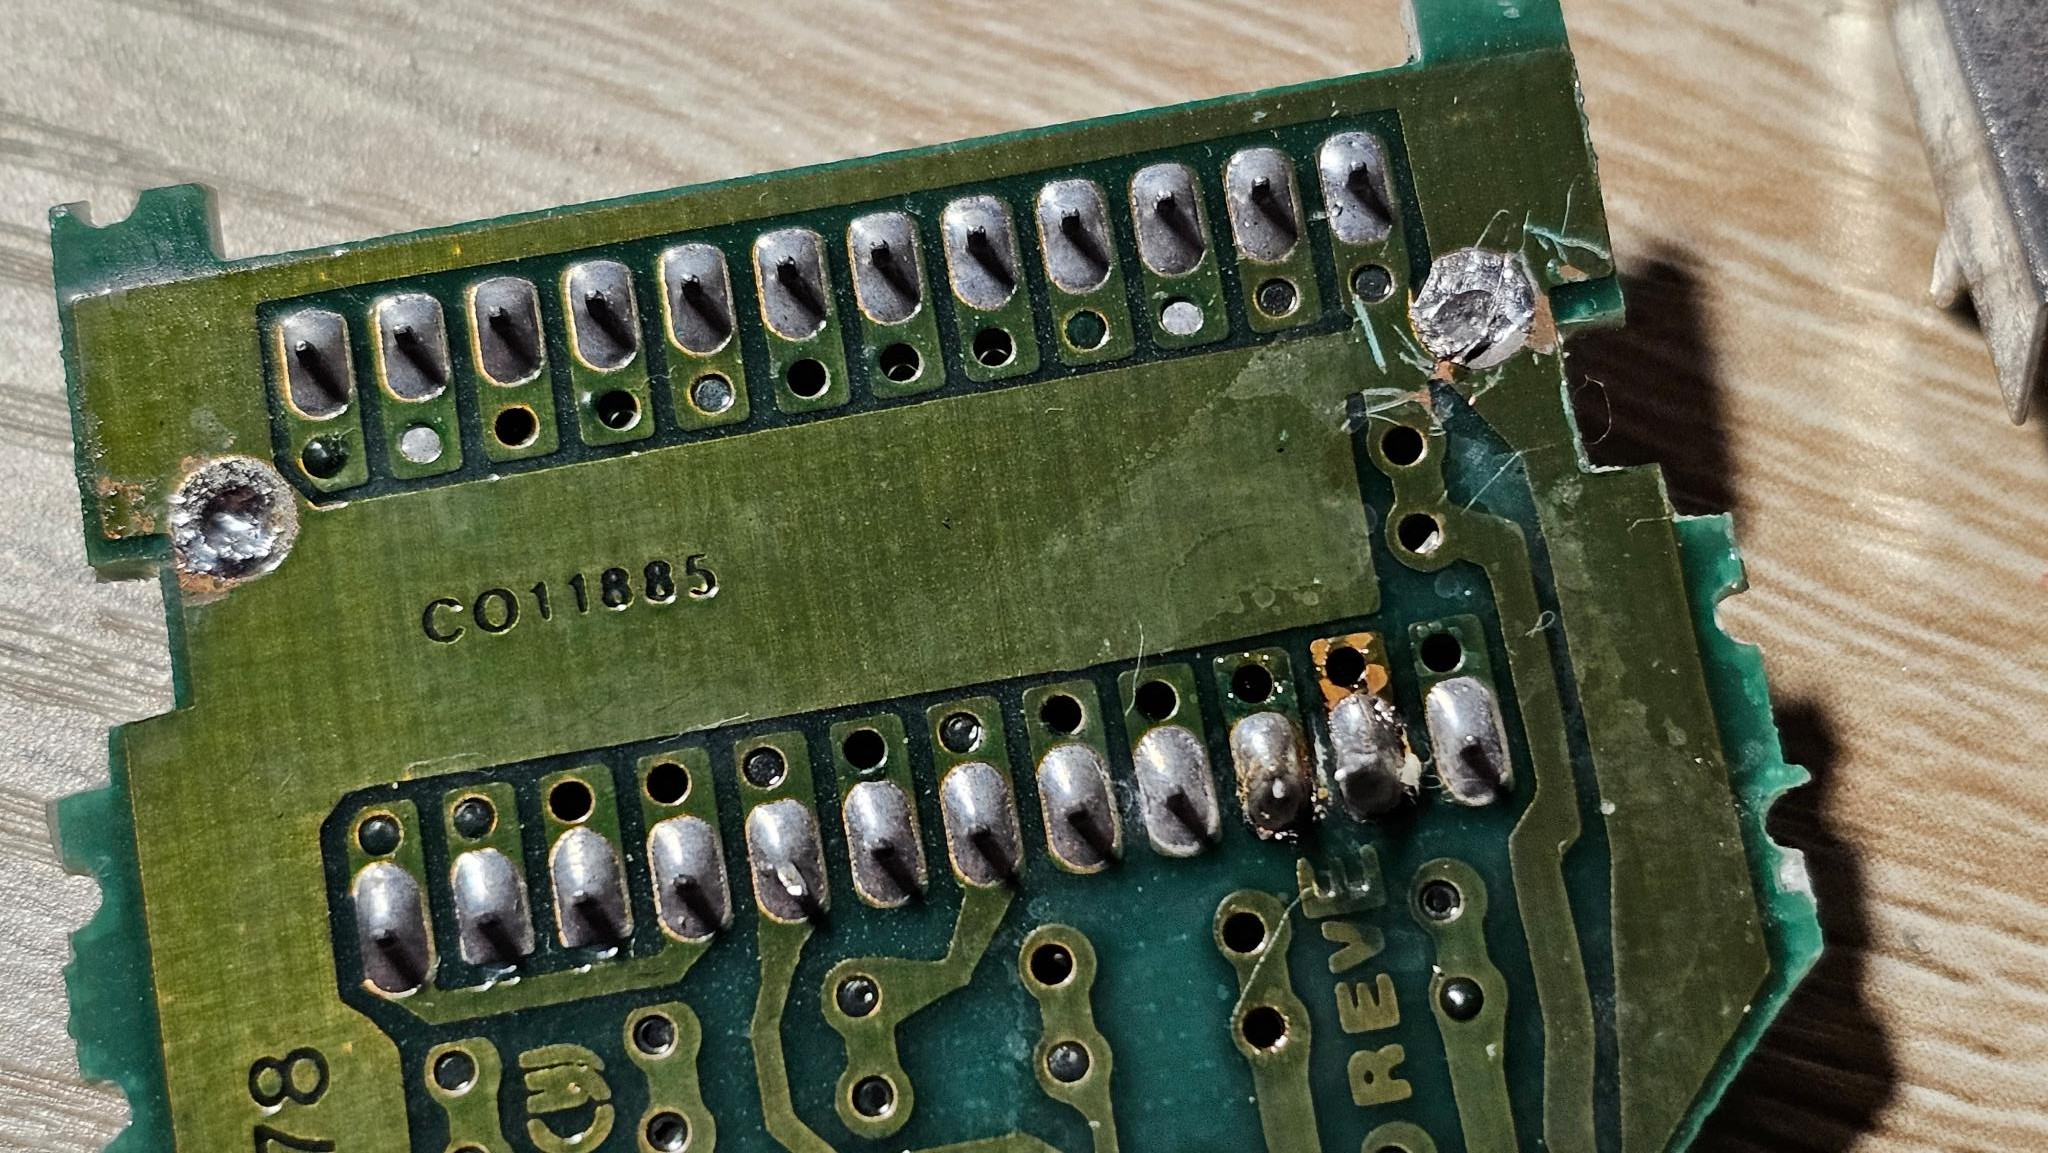
The tip of my soldering iron is positively wrecked I scratched the board. If you have other soldering criticisms PLEASE actually do comment them because nobody interacts with me here because I post nerdy shit.
I took the soldering iron and cleaned up the two pins affected in the bottom right of the board… Essentially, reheated it and made sure they weren’t connected. I’m not sure that they were before, but now they for sure not.
Finally, I hit the board with some IPA to remove the flux from whoever worked on it last, as well as the fingers (card edge connector).
One thing I know is true:
There’s some hipster with a great beard, a pink shirt and a man bun getting ready to pour out his double hazy craft beer onto this board and make it taste like a citra infused hangover. Please don’t do that. When I said I hit it with IPA, I for sure meant Isopropyl Alcohol. All the YouTubers call it IPA.
Another test?
Works! I didn’t need to run any integrity checks or socket it or anything. Just reheating the solder here and cleaning the board made the game work again.
Made it this far? Might as well check out my other blog where I release an Atari Game I had made back in 2014.
Leave a Reply