PREFACE: I didn’t build the software here and I just followed a series of searches to come up with a solution that meets my needs. You may have different needs and that’s cool too. If you aren’t in an IT related field, this is all we do in this field, search things until one of them work, and get pissed along the way.
Hi again friends, it’s time for another De-FAANG blog. What is that? FAANG is “Facebook, Amazon, Apple, Netflix, Google”. Essentially, trying to get away from the major cloud providers that harvest data.
FireTVs and Rokus are simply streaming sticks, but if you run any DNS sink (like PiHole) then you’ll know Rokus are loud AF on the network with phoning home requests, and FireTVs are just absolutely coated with ads.
My Requirements
- YouTube, that I can sign into for Premium to avoid ads
- Plex, as a client, to watch old documentaries
That’s it. I don’t care about the other providers, I’ve cancelled them. I haven’t had cable TV since ~2010 and even then rarely used it. I have low interest in new shows and movies and this was the best solution for me. That said, it is likely this will support all the video services you’ll want as well.
What you’ll need
- Raspberry Pi 4 (or newer)
- Older may support it but I used a Pi4, 8GB Ram for my needs
- A Charger / Power brick for your Pi — seems obvious but that old phone charger you have in a box likely won’t cut it for newer Pis
- A tiny HDMI to normal HDMI cable
- Some remote way to control this
- I’m currently using a cheap Dell Bluetooth keyboard / mouse combo, but I do have a remote similar to a FireTV coming in the mail next week
- A MicroSD card. Faster and bigger is obviously better. You can store media locally if you don’t have a NAS, so keep that in mind.
- WinSCP if you are on Windows and intend to get Plex working
How to do it
- Grab the Raspberry Pi Imager from here. It takes a lot of the frustration out of imaging and is cross platform, it’s great for any imaging needs not just for the Pi.
- Run the imager and select your device, then go to “Select OS”, and then “Media Player OS”
- In here, select “OSMC”
- Select your device (your SD card), write it, eject it, put in your Pi and let it start up
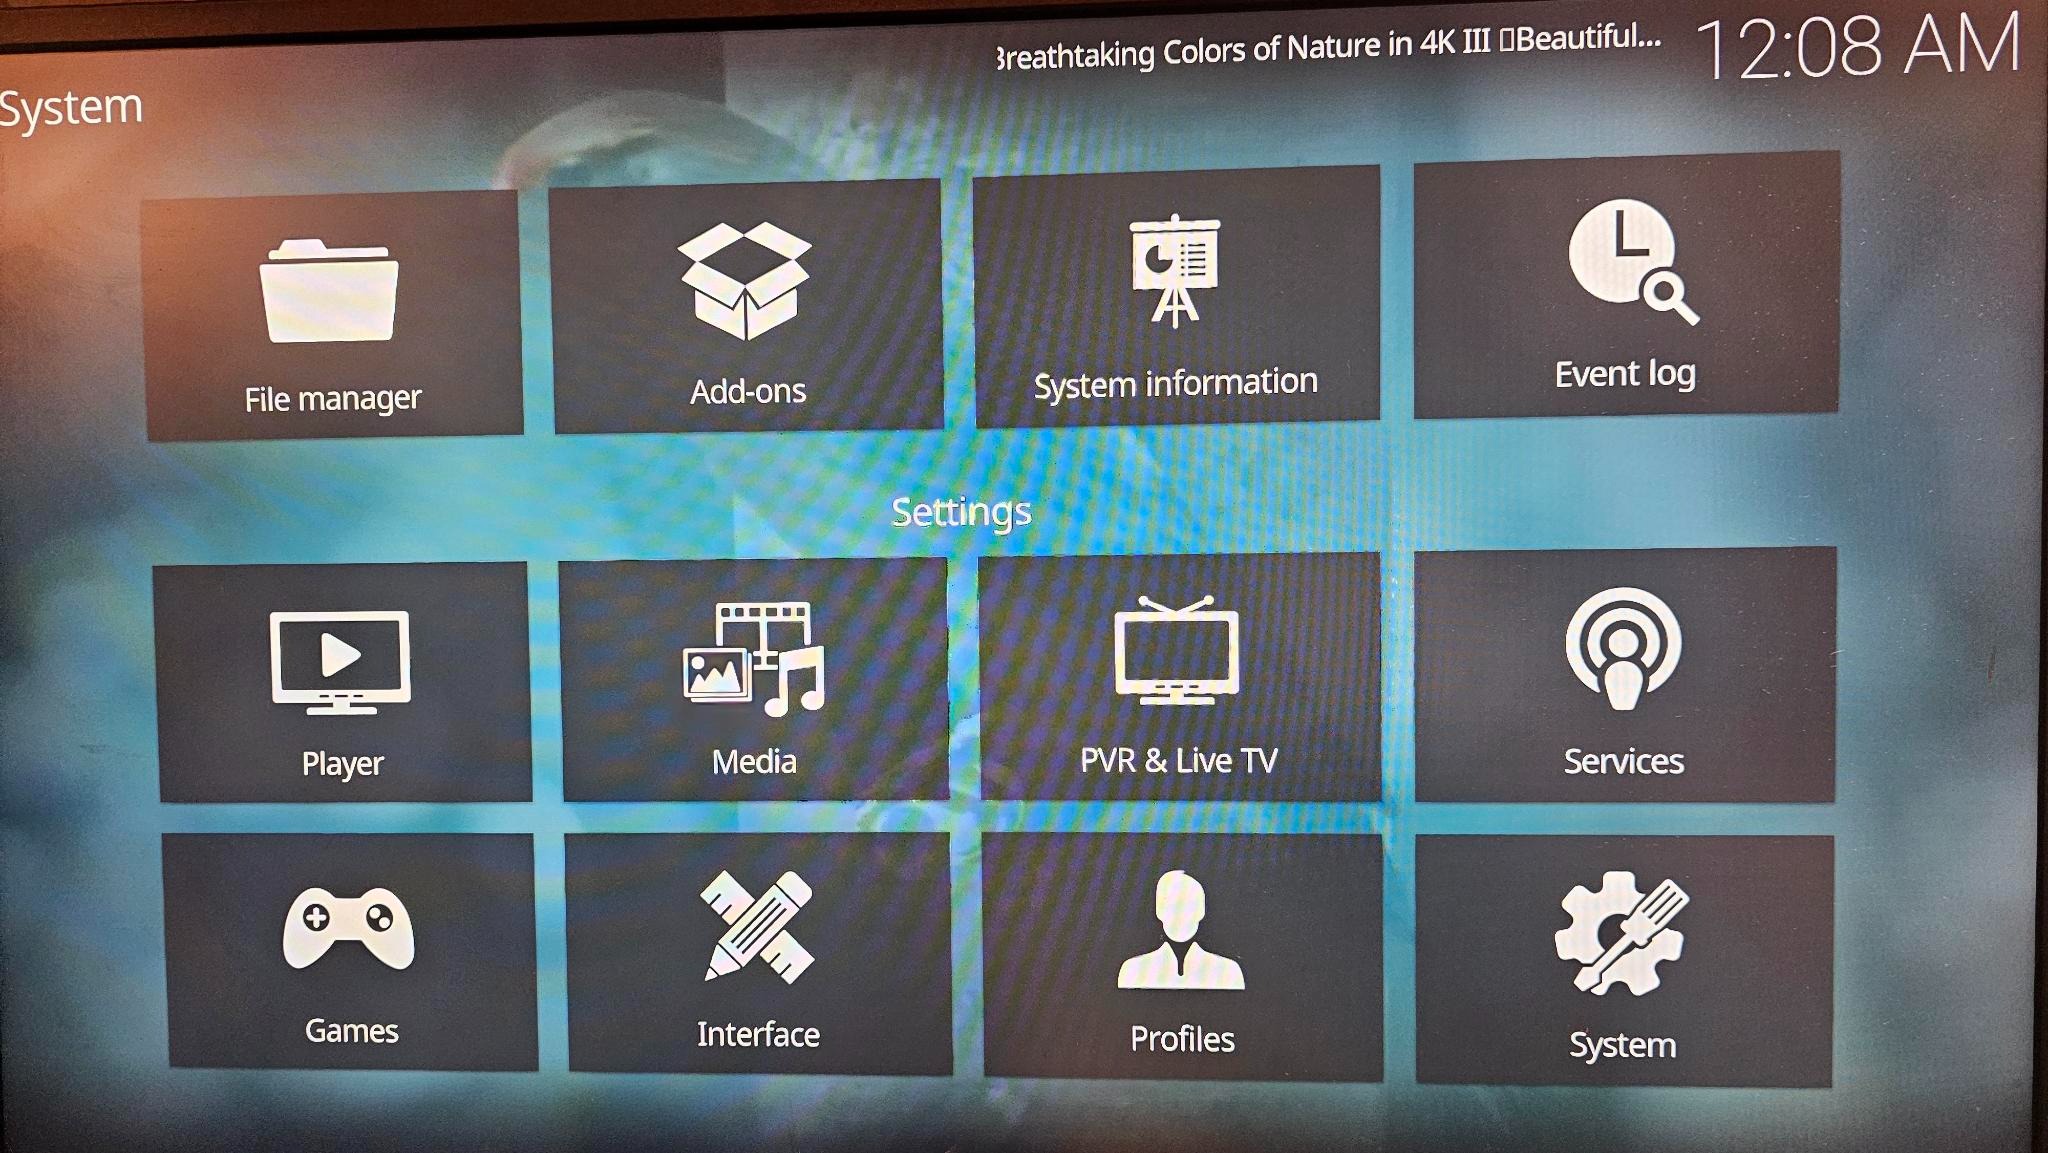
At this point, you’re essentially done, you can go in the “Add-Ons” menu and install the services you want if you don’t have local files to watch. Youtube is easy to download, install, and sign into.
A Note About Plex
There is a in-built Add-on for Plex, however the maintainers (Plex) have not updated the codebase to the latest version of Python that OSMC supports, so it will not natively work.
This link seems to be maintained, though the installation instructions were a touch confusing if you’re not used to OSMC.
There is a “Don’t Panic” repository that is listed there, but here’s where it goes: https://pannal.github.io/dontpanickodi/
Download that ZIP file
At this point, use the SSH Client of your choice, or WinSCP for ease, and copy it to your home folder on the Pi (Just ~, or /home/)
TIP: The default password for both the web interface and SSH is osmc and osmc
After you copy it:
- Go to home > Add-Ons
- Now go to “Install from zip file”
- Navigate to the home folder and install that ZIP
- Go back to home > Add Ons
- Now go to “Install from repository”
- Select “Don’t Panic”
- Select “Plex”
Once this is done, you can navigate to “Plex” and it will work for you.
If not, it’s worth going into System > Logging > Enable Debug Logging, and trying to click into it. In the interim, monitor this file on the Pi:
~/.kodi/temp/kodi.log

Leave a Reply